Someone hit and broke our mailbox.
No, I'm not kidding. Someone really did hit and break our mailbox. We thought it was pretty ironic since we had just posted about finally painting the hose clamps that were the "quick fix" in the first place.
One Thursday evening, the Mr. and I went out for a run in the neighborhood. A car passed us, headed down our street, and immediately came back out of the neighborhood. As we turned the corner, we realized our mailbox had been knocked down, completely broken off the post (which, in case you don't remember, is iron). The actual mailbox was dented up a little so that it didn't close completely, but whoever hit it was nice enough to set it in the grass behind the post.


The day after the incident I told my boss about it and showed him a pic of the once standing mailbox. He realized the ornamental iron on the mailbox was a design that his grandfather made at an iron foundry in town. He still knew the owner, so he called for me. Sure enough, it was a design his grandfather had created. The iron piece was originally $8, but they gave it to me for free. I brought it home and the next weekend, the Mr. and I went to Lowe's and grabbed a $20 mailbox. We also grabbed some primer, glossy black spray paint, and a few more hose clamps. Then, we had to reconstruct the mailbox....
We started by unbolting the mailbox from the iron decorative piece. You can see how it was attached in this picture.
 |
| It was attached to what I call a "t-bar" type of piece of metal, which was then attached the iron decorative piece. |
Since we didn't have the materials to make the little "t-bar section" that holds mailbox, we had to reuse the original one by prying if off the old broken decorative iron.

You can see what it looks like once it's pryed off. It was simply two separate sections that were welded together.

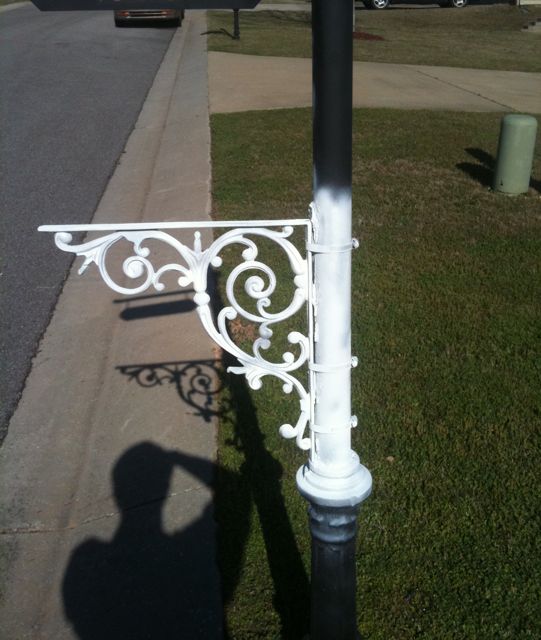
Once we got the two pieces separated, and since we could't weld it all together, we used small hose clamps to hold the "t-bar section" to the decorative iron section as you can see below.

Then the Mr. took our new mailbox and drilled some holes in the bottom of it so it would sit nicely on top of the "t-bar section." In this pic, he was using the pre-drilled "t-bar section" as his guide to drill holes in the new mailbox.

Then we used some nuts and bolts to hold the mailbox on the "t-bar."


Then we used some more hose claps to hold the decorative piece the to mailbox post... as mentioned in this post. And then we primed everything.

Lastly, we sprayed it all with a glossy black spray paint.

And now for the big reveal. (Yes, I blurred our house number...)
 |
| (Ignore the icky fingerprints we left on it... they washed off in the rain... lol) |
Not too shabby considering this what it looked like after we fixed it the first time.

P.S. Our new neighbors actually just knocked down and broke their mailbox... we gave them some tips on how to fix it, but I guess it's just something about this neighborhood...

No comments:
Post a Comment